Setting up a rainwater collection system takes determining where you wish to collect rainwater, gathering the needed materials, and a good sunny day. Below are the 10 steps I used in constructing a rainwater collection system for use in watering my garden-landscape.
 Materials:
- 4 Blue, Food-Grade, 55-Gallon Barrels – $8 each from local honey and vanilla manufacturing company
- 1 Metal, Male Threaded Spigot – $5 from local hardware store
- 6 Metal, 5/8 In. Male Threaded Coupler with Tightening Clamp – $2 each from local hardware store
- 8 In. Tube, Fast-drying Silicon Caulk – $4 from local hardware store
- 3 Ft., ¾ In. Diameter Garden Hose – Had on hand: $5 value.
- 8 Ft., Flexible, Downspout – Had on hand: $10 value
- 8 Cinder Blocks – Had on Hand: $10 value
- 6 In. Square Window Screen – Had on Hand: $10 value
Tools:
- Garden Snippers for Cutting Garden Hose
- Lock-in Pliers for Tightening Spigots
- Flathead Screw Driver for Tightening Clamp around Coupler and Hose
- ¾ In. Drill Bit with Drill for Drilling Holes in Barrels
- Shovel for Leveling Ground
Step 2 – Drill Holes
Drill seven holes using a drill bit that’s slightly smaller than the coupling and spigot. Drill the holes to create a flow from the first barrel, which attaches to the downspout, to the last barrel, with the spigot. Drill 3 inches from the bottom in order to drill straight holes. Once drilled, set the barrels in a sunny location to heat and expand.
 Step 3 – Attach Couplers & Spigot
When the barrels are warm to the touch, put silicon caulk around each threaded section and screw on couplers and spigot with lock-in pliers till tight. Let dry for 20 minutes.
Step 4 – Cut & Attach Garden Hose
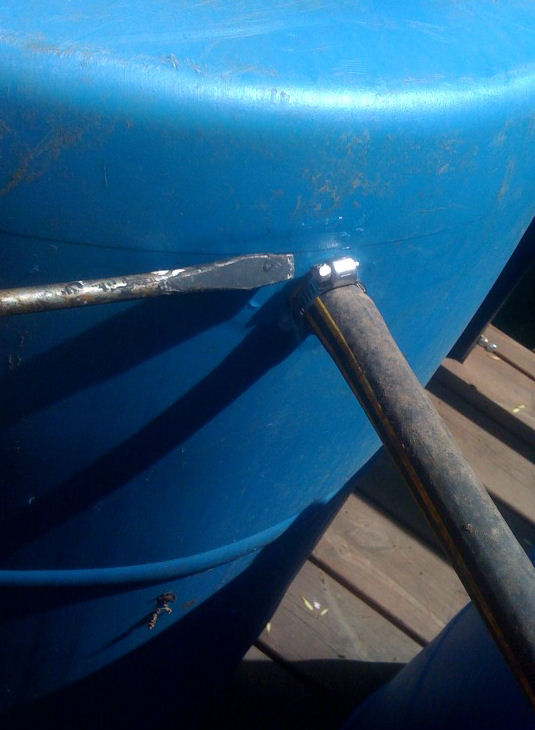
With the snippers, cut the garden hose into three, one foot sections. Put silicon caulk around the exposed portion of one coupler on each of the first three barrels; then attach a section of hose to each of the three couplers.
Fit the hose snugly against the barrel and tighten the clamp thoroughly with a screw driver. Caulk again around the clamp. Allow to dry for 20 minutes.


Step 5 – Preparing the Location
Using a shovel if necessary, level the ground where the barrels will be placed. Place two cinder blocks where each barrel will set. Putting the barrels on cinder blocks makes it easier to attach hoses and fill containers under the spigot. Level the ground so that the first barrel is slightly higher than the second barrel; the second is slightly higher than the third; the third is slightly higher than the fourth; with the fourth lower than all. This forces the water through each barrel, using the water on the bottom first.
Step 6 – Attaching the Barrels Together
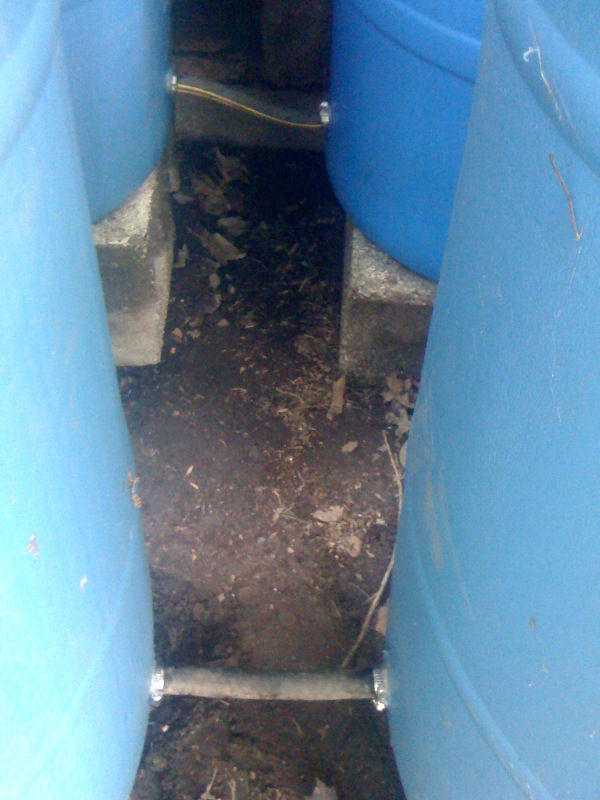
Place the barrels on the cinder blocks and repeat step 4 on the three remaining exposed couplings. Once the connections are made, with extra silicon caulk applied, open the spigot and remove the caps on the barrels. The caps are easily removed with a pair of pliers opened inside the lip edge of the cap. Let dry and vent for 4 hours.
Step 7 – Attach Downspout
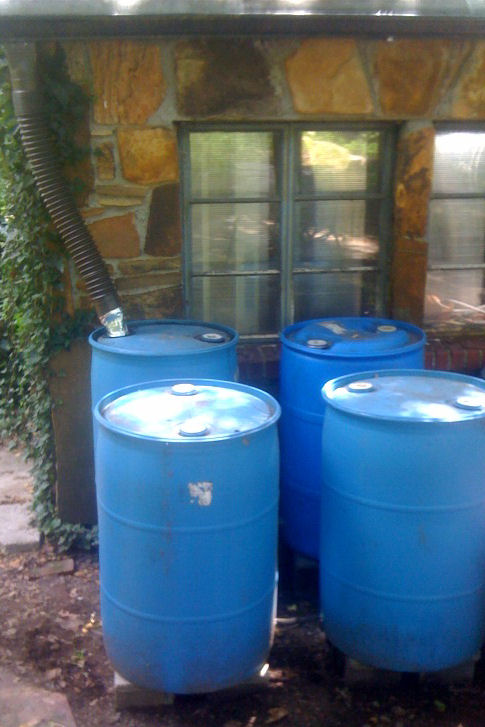
Press the end of the downspout together, and push it into one of the cap openings. First insert a screen over the end of the downspout, where it attaches to the guttering and where it fits into the barrel cap.

Step 8 – Wait for a Rainy Day
During the first rain, the barrels filled halfway. Because I tightened the caps, the first two barrels filled completely, and the last two barrels were mostly empty. As soon as I loosened the cap on the last barrel, the air pressure released and the water equalized in each barrel. Loosen the cap on the last barrel for overflow.
Step 9 – Dispense Water
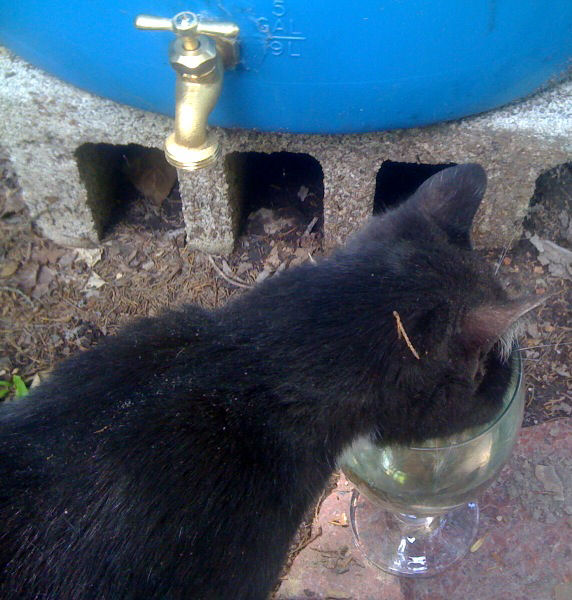
Dispense rainwater into a container or attach a hose.
Step 10 – Use Water
My cat drank the first glass, lapping it up faster than her usual well water. My potato patch than received a thorough watering.


